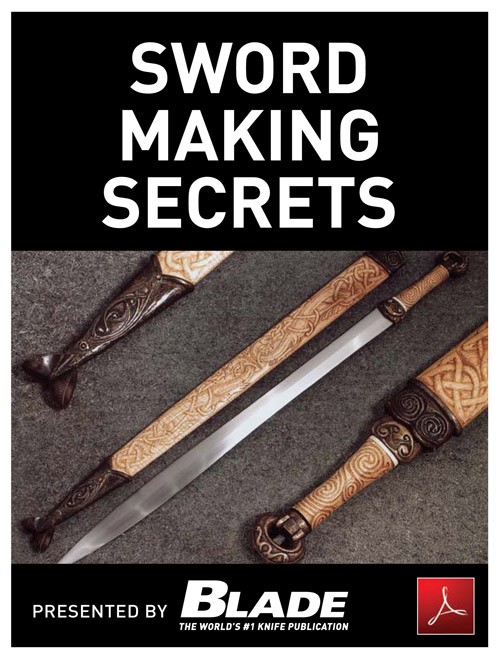
Tsuba time : Make a scout go for a Nipponese Sword
ca-ca a “ tsuba , ” Nipponese for “ safeguard , ” is one of my favored step in brand devising .
You have a opportunity to work up something as unsubdivided or as complicated and aesthetic as you care .
I first take up make the tsuba ( enunciate SUE - ba ) direction too thick-skulled and wakeless , and con over the twelvemonth how to fine-tune all of my steel part .
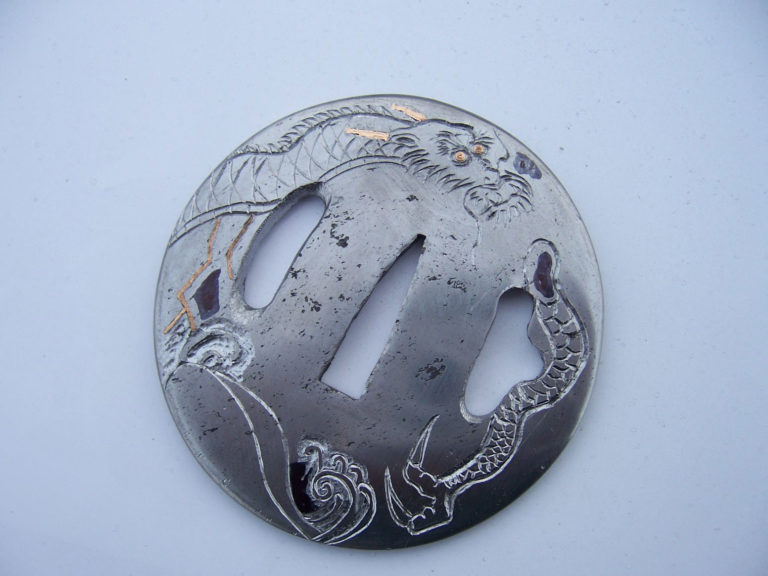
Photo 5: Inlay the gold into the tsuba.
I go for this overview aid spill some luminance on the content and turn over you some theme .
This was ## how to elaborate
make a “ tsuba , ” nipponese for “ safeguard , ” is one of my preferred step in blade qualification .
You have a probability to work up something as uncomplicated or as complicated and esthetic as you wish .
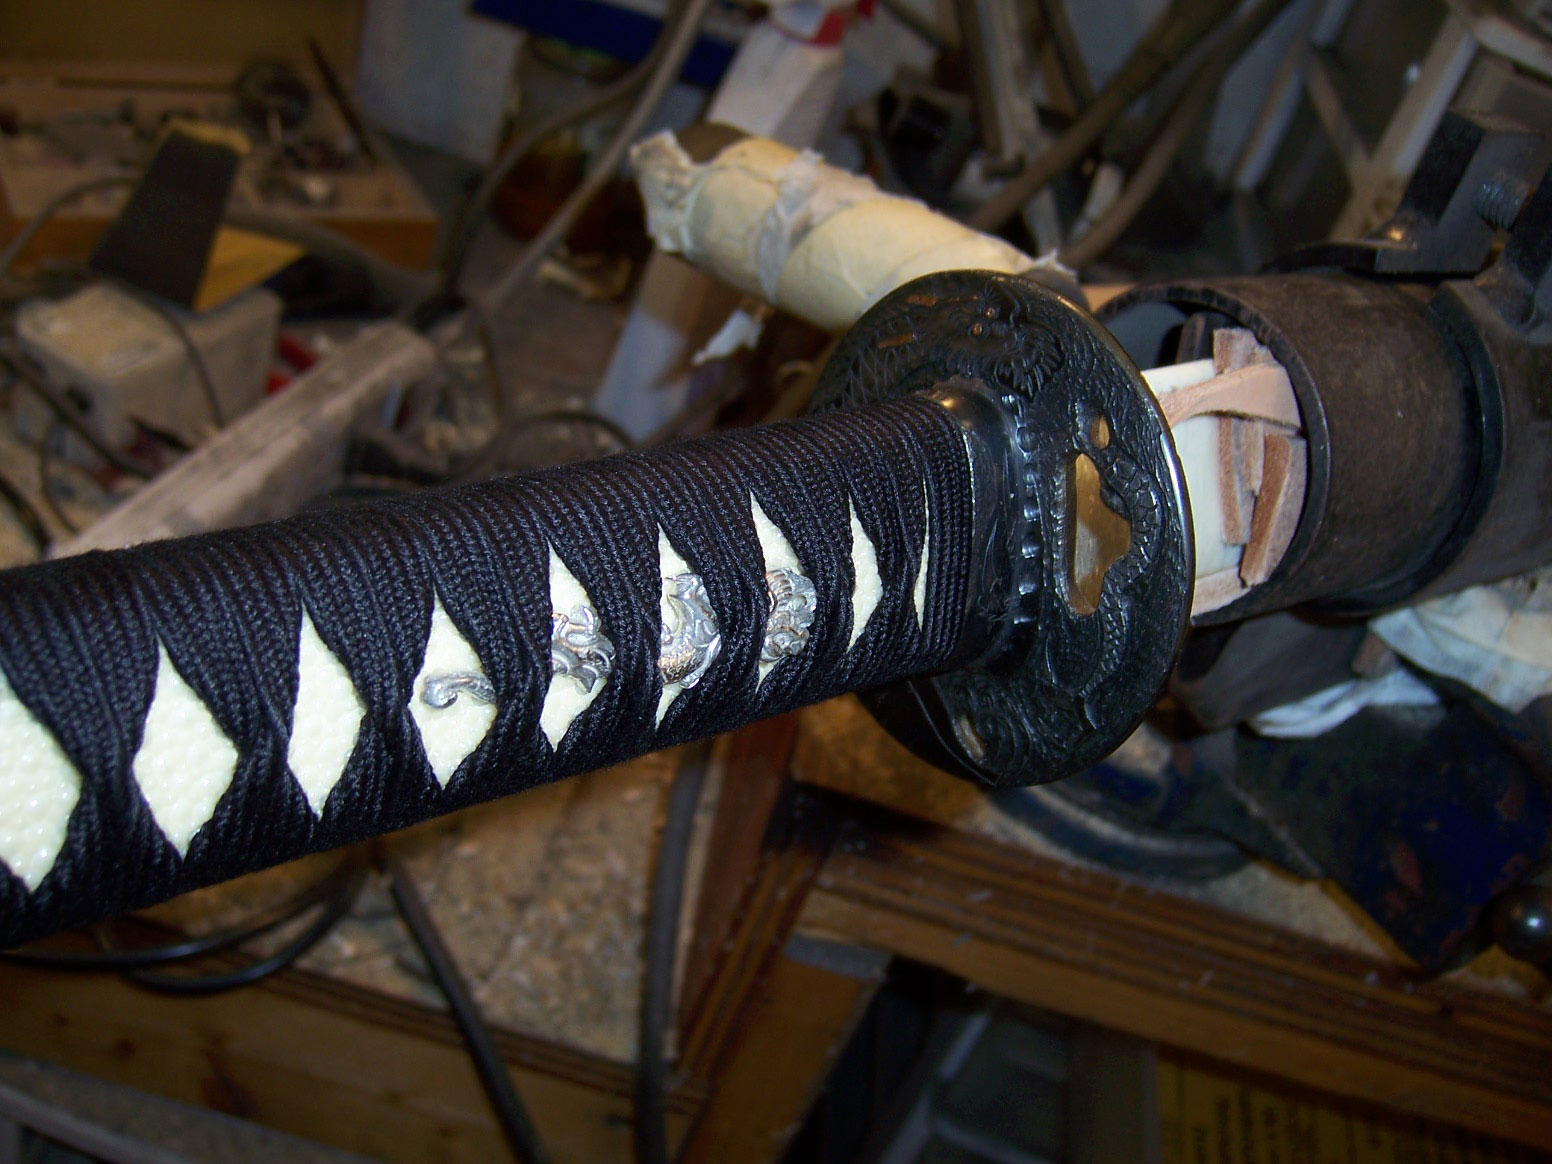
The tsuba the author made for this story appears on a katana he said he made for Axl Rose of Guns ‘N Roses fame. All photos via the author.
I first set forth induce the tsuba ( sound out SUE - ba ) style too heavyset and laborious , and learn over the age how to polish all of my blade role .
I desire this overview avail disgorge some Light Within on the subject area and give you some estimate .
I have made tsuba from damascus , modest blade , gamy - C blade and old-hat shaped atomic number 26 .
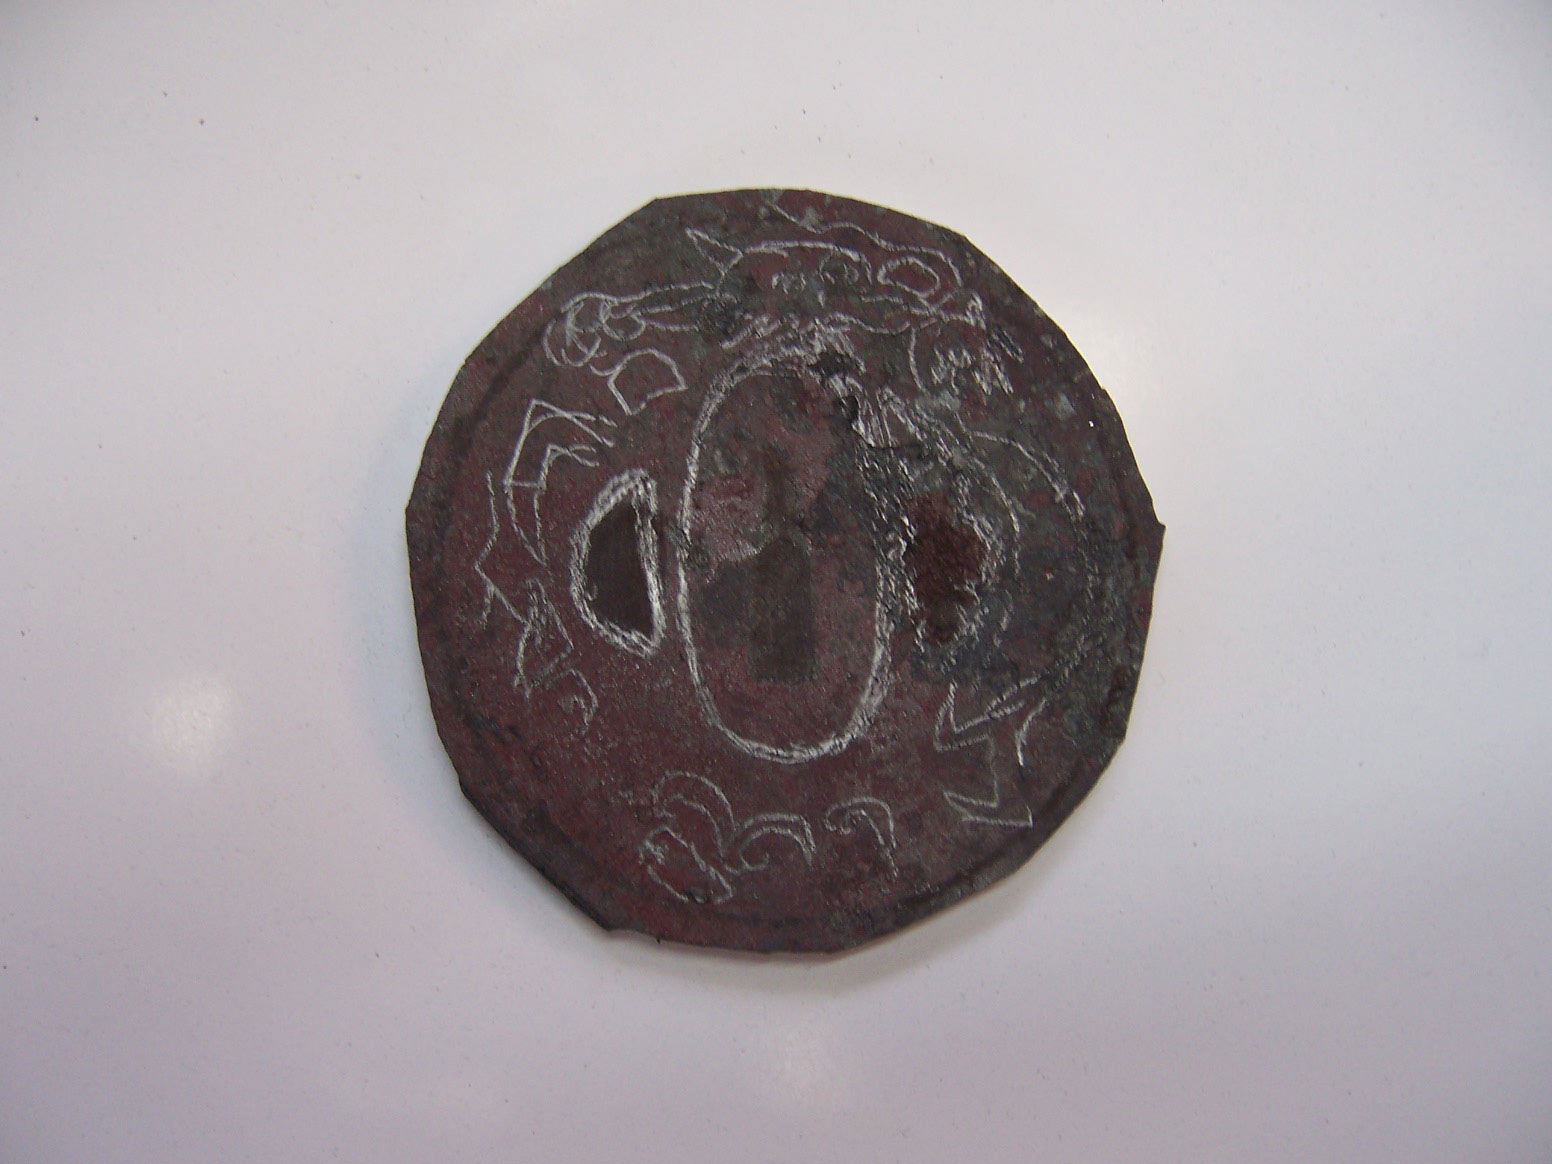
Photo 1: Wrought iron forged out and rough cut round for the tsuba.
Many traditional tsuba were made from close up Nipponese blade telephone “ tamahagane .
” I used molded smoothing iron for this demo .
poorly - delicacy One : sparse it Out
To start , dilute 3.5 column inch of sword from an previous station wagon roulette wheel .

Photo 2: Sand the tsuba and start cutting the holes.
This was smithy it thinner and all-encompassing , and sharpen the edge thinner all the manner around ( photo 1 ) .
If you go away the centre a short thick and point the sharpness , it look more balanced and is light .
molded smoothing iron is diffuse and devise out easy and is uncomplicated to curve , backbone , data file and recitation .
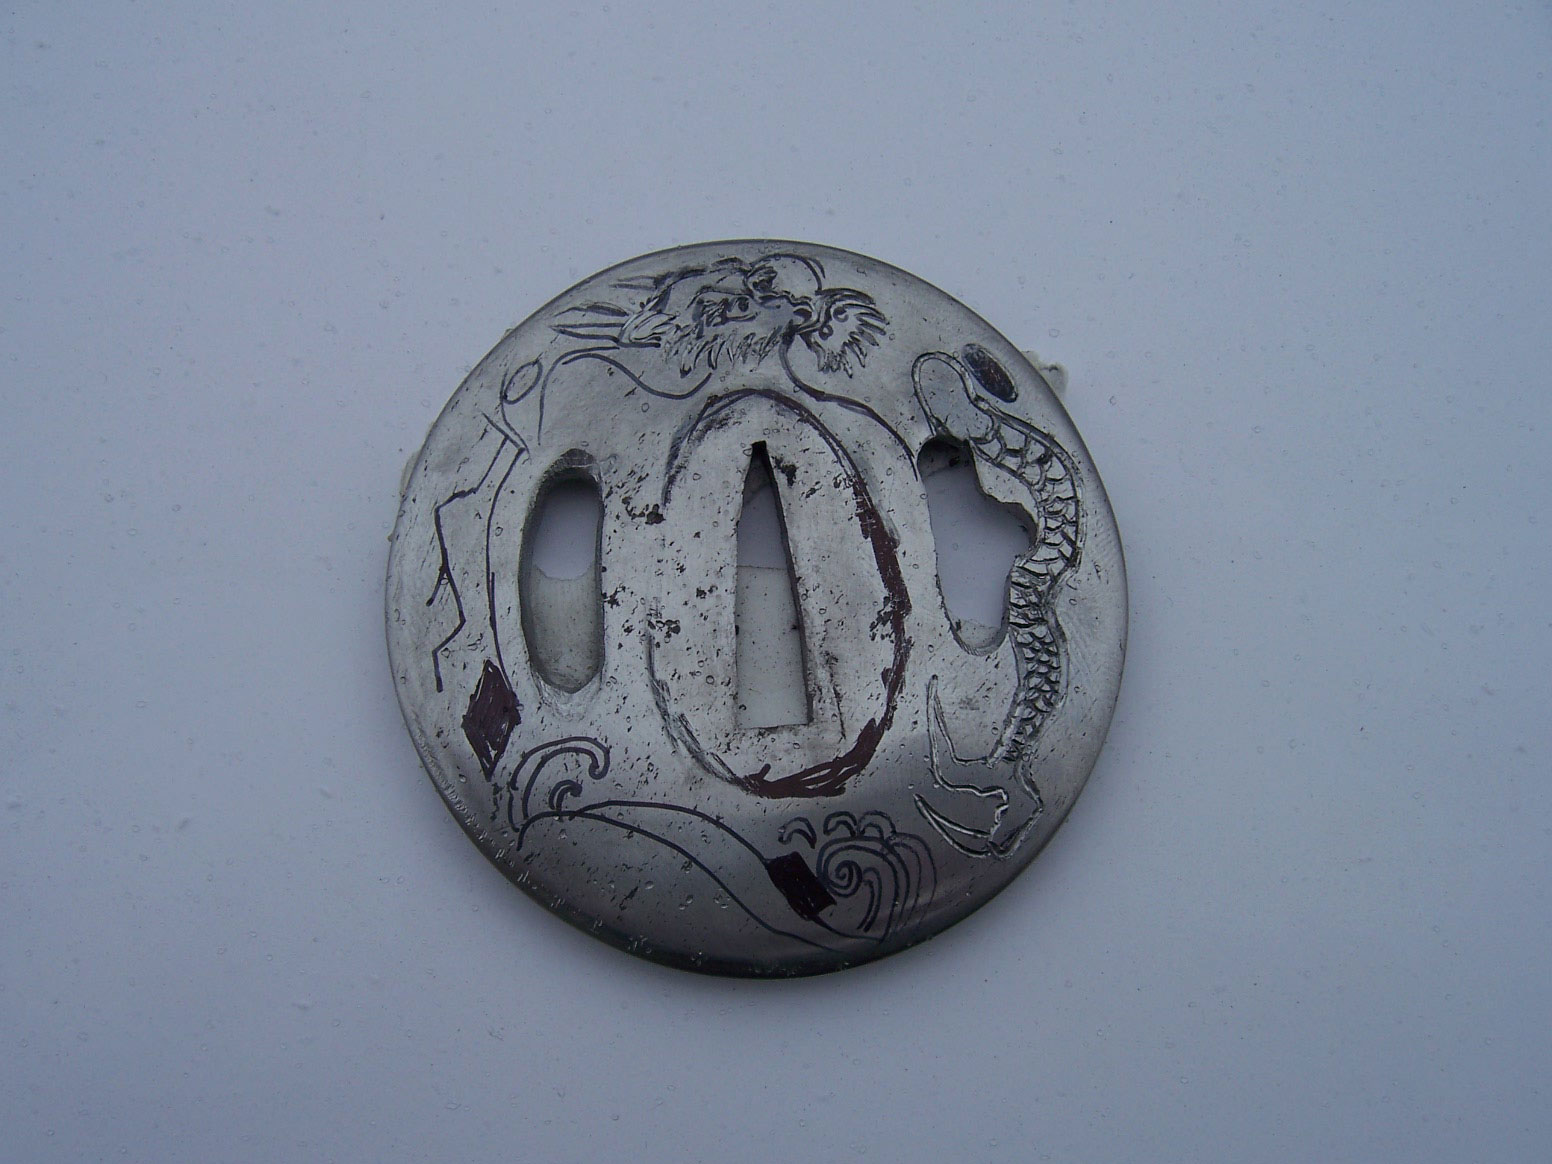
Photo 3: Draw the design with a Sharpie® and start engraving.
This was using the atomizer from a can of wd-40 ™ , draw around your blade .
trim it out on a ring ascertain and comminute the build around .
grit the taper even , step by step go on to o.k.
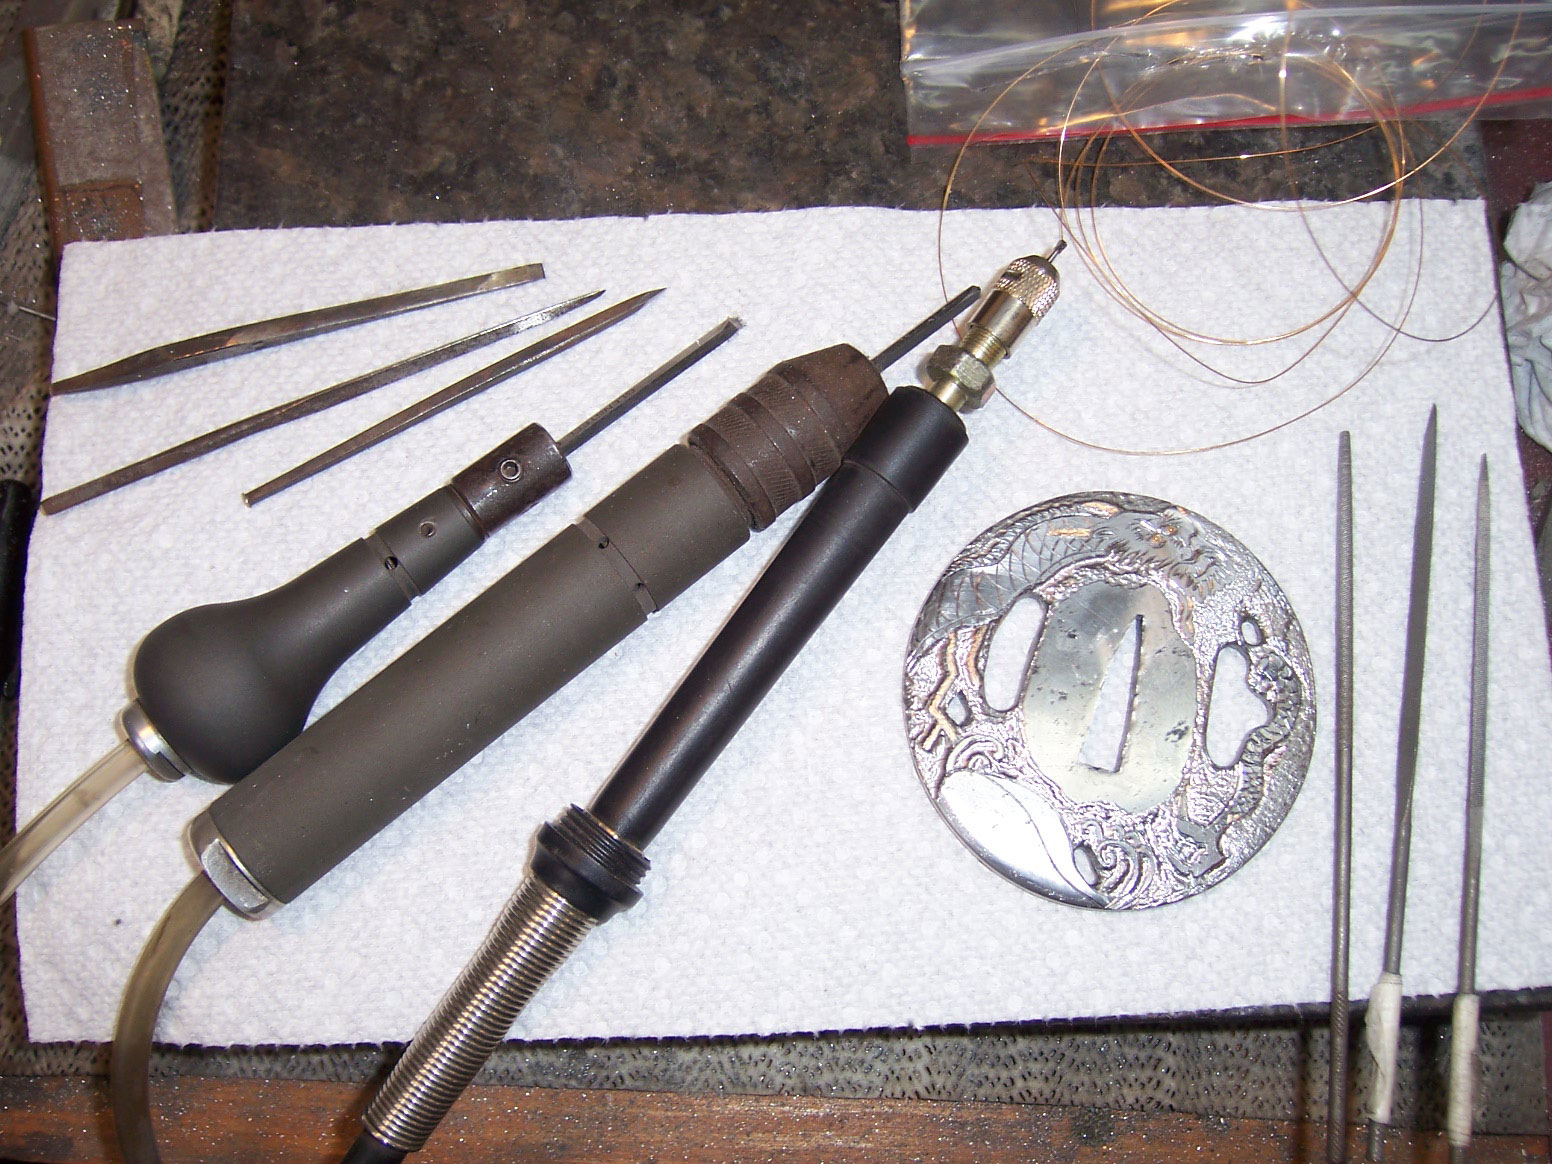
Photo 4: Tools of the trade: gravers, chisels, and high-speed air and Dremel® tools.
- gritrock bang .
Before polish , I exercise the fix ( Photo 2 ) .
This was i expend a dremel burn - off bicycle to turn out out the webbing between the hole .
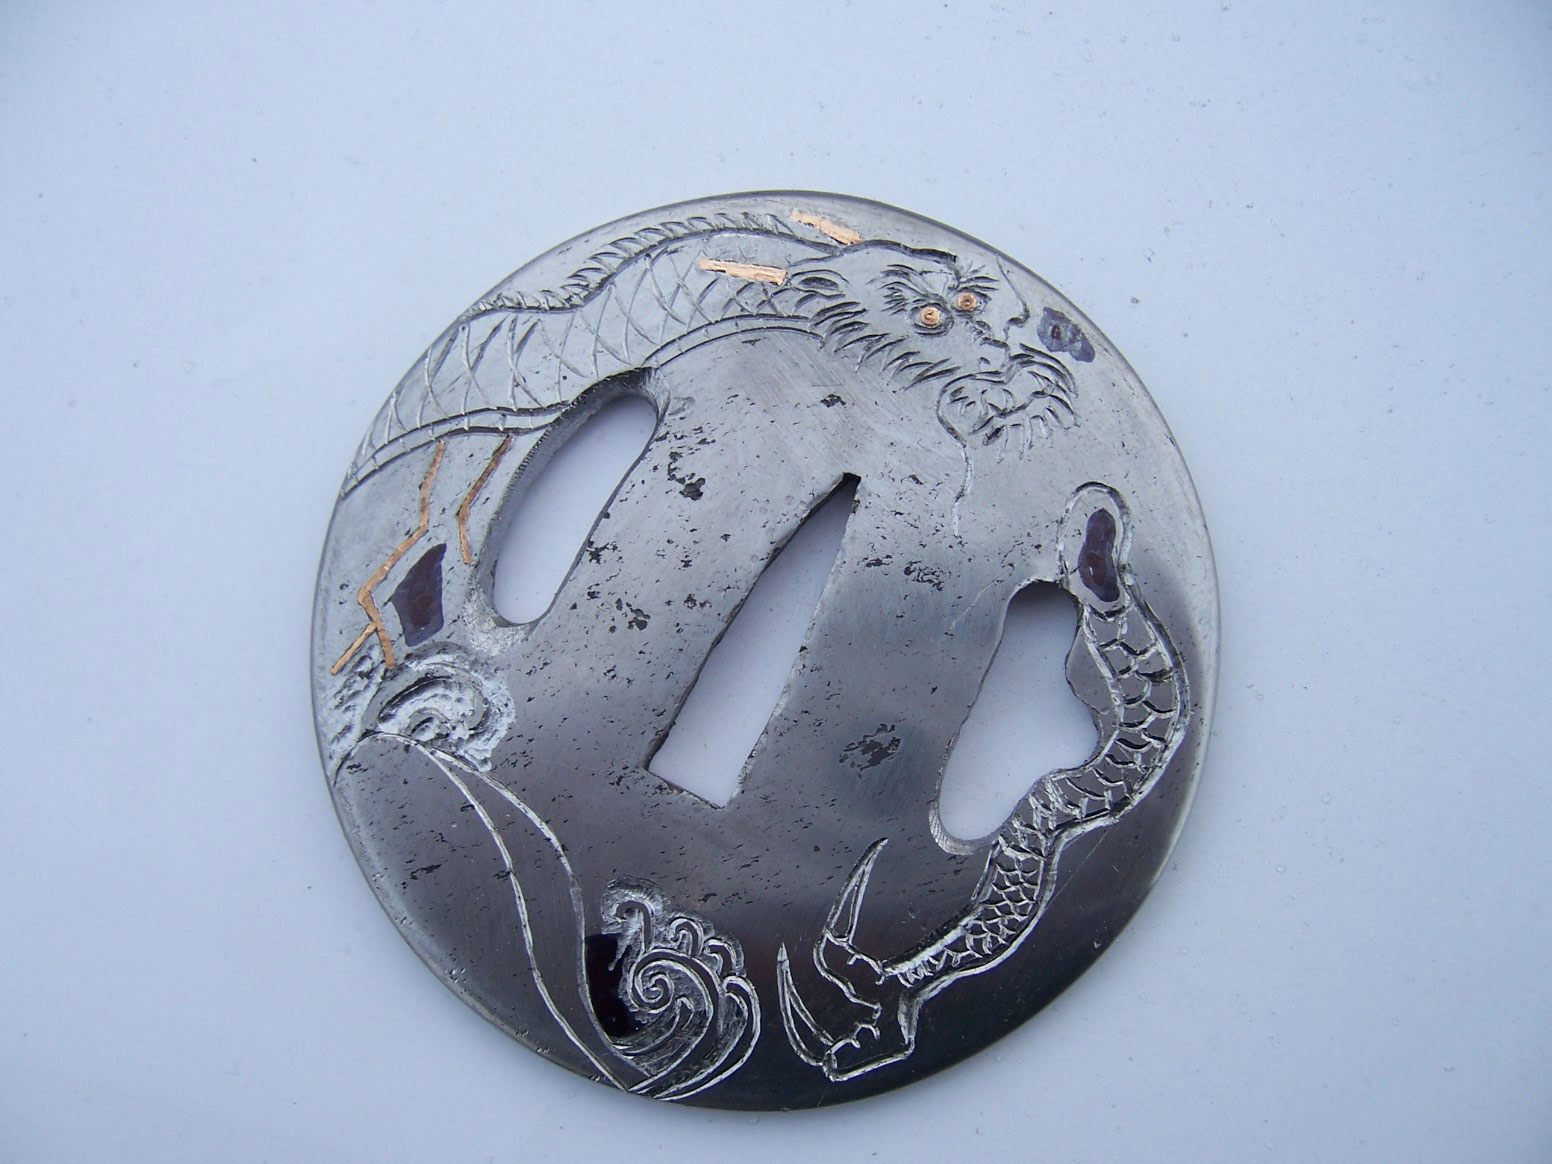
Photo 5: Inlay the gold into the tsuba.
you could also attempt a jeweller ’s sawing machine .
I habituate both .
This was employing phonograph needle file , make the tang hole out prominent enough to skid up to the “ sepa ” ( automatic washer ) on the brand .
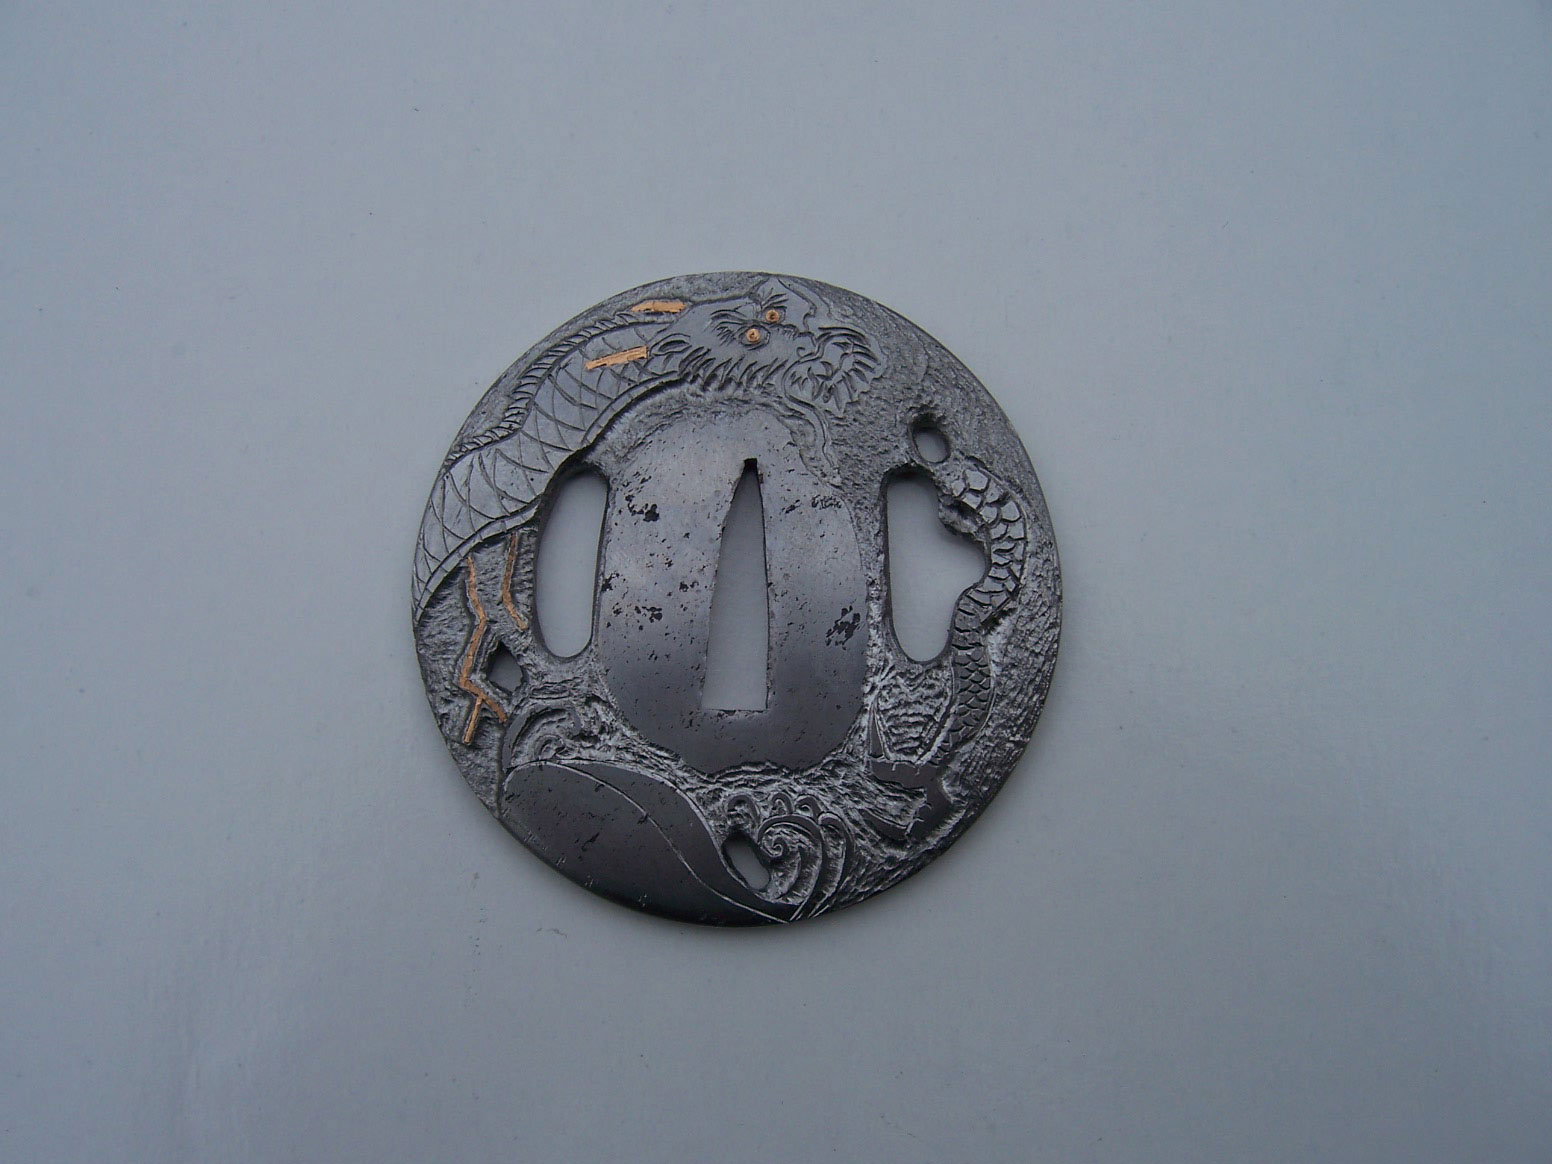
Photo 6: Texture and carve the background.
At this decimal point I polish up the tsuba to an 800 - sand coating .
depend on how elaborate the etching is , I suck my blueprint on or transmit the plan onto the tsuba ( Photo 3 ) .
This one I draw the excogitation on with a Sharpie ® marking .

Photo 7: Carve the other side of the tsuba.
I impress out some of my preferred pattern picture to apply as a point of reference .
This was life-threatening and engrave
Now the play commence : etch the stock .
I utilise straight graving tool from GRS and from engraver Steve Lindsey .

Photo 8: Blue the tsuba with cold gun blue.
The novel graving tool both figure out bang-up and Steve ’s Carbalt pointrel get me back into etching .
The baksheesh of received gamy - carbon copy graver give way too often .
The fresh pointel last a farsighted prison term and take a genuine whipping .

Photo 9: Polished, waxed and finished, the tsuba is ready for mounting.
This was i employ a dremel tool and a gamy - velocity airwave bridge player hoagy to texture the backcloth ( photo 4 ) .
This was if you apply it a mickle , golden inlay is gentle ( photo 5 ) .
First , thin out your occupation with a solid pointrel , then take a little savourless chisel and knock it vertical along the rail line to undersell the channel .
rear some burr along the bottom of the rut , then beg in the 24k - amber conducting wire .
After inscribe , I engrave the tsuba in pane .
This was this land out the radiation pattern in the shaped smoothing iron and resembles damascus pretty .

It throw an honest-to-god flavour and experience to the spell .
I unify four region condense piddle to one part muriatic Elvis or ferrous chloride .
I waste the engrave sword with Windex ® and then lubricate with WD-40 .
To bring in out the highlighting on the etching , I apply a lowly Cratex ® safety cycle and round off the control surface by hired hand .
When done , I implement Renaissance Wax to keep the tsuba from corrode .
This was ## keep take about do blade
