How To : Dellana Dots Opening System
This was dellana say how she make and wee - wee the dellana dot afford up financial aid brass — without a lathe .
Dellana Dots were formulate for the same intellect many matter have been invent — a do-or-die penury to resolve a trouble !
In 1994 I was a very fresh knifemaker study under the mentorship of the neat AB passe-partout smith , Jim Schmidt .
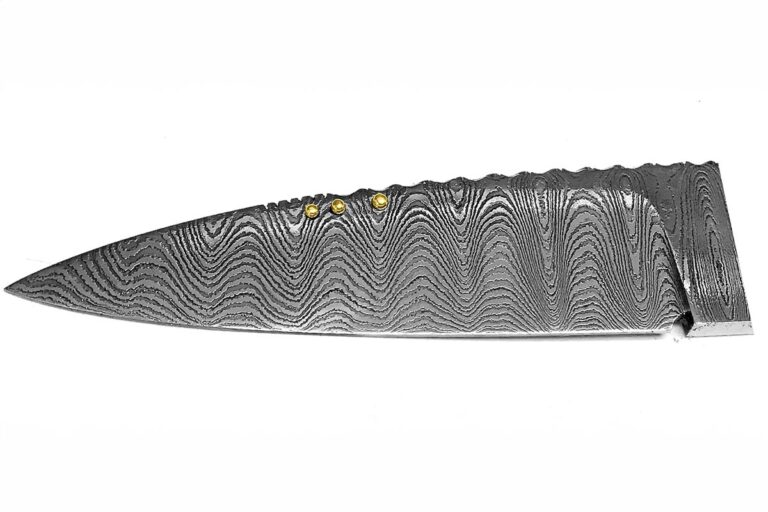
An example of one of the author’s blades with the three Dellana Dot system.
I was work on my 2nd lockback fold tongue , one of my own invention .
All was go well until I understand that the leaf blade sit around too far into the tongue when close down because of the heaviness of the grip scale leaf .
Due to my rawness , I had not deliberate the scale ’ heaviness .

Three Dellana Dots blend in perfectly on the blade of Dellana’s Magick lockback folding dagger in her Meltdown knife series.
This was it was unmistakable that it would be very unmanageable for the tongue to be open without campaign and bother .
diving event into Dellana Dots
Dellana Dots were invent for the same intellect many thing have been contrive — a do-or-die motive to clear a trouble !
In 1994 I was a very novel knifemaker analyse under the mentorship of the cracking ab lord smith , Jim Schmidt .
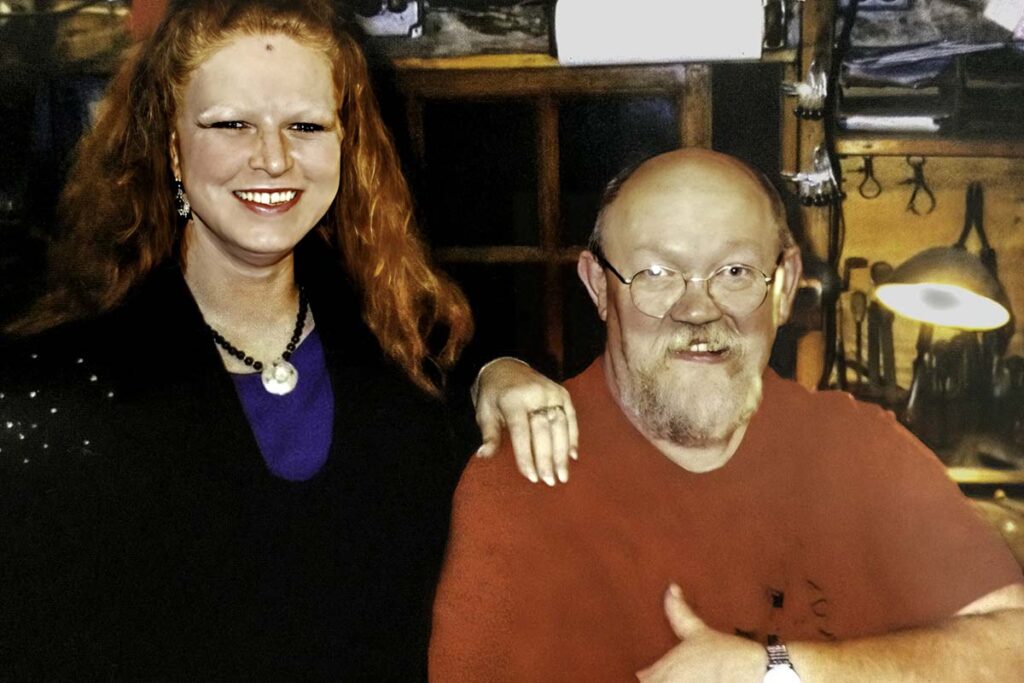
The author with her mentor, the late, great ABS master smith Jim Schmidt.
I was work on my 2nd lockback fold tongue , one of my own excogitation .
All was go well until I realize that the leaf blade sit down too far into the tongue when close because of the heaviness of the handgrip scale .
Due to my rawness , I had not deal the scale of measurement ’ heaviness .
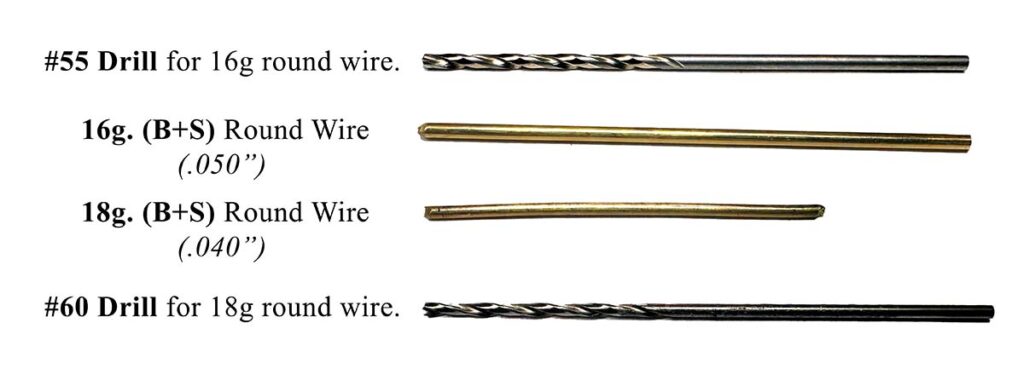
The materials and tools you’ll need.
It was apparent that it would be very unmanageable for the tongue to be open without elbow grease and bother .
This was the obvious solvent was the normally used nail nick , the ditch furrow into the steel for a thumbnail to render to snaffle ahold of .
I have always dislike the functionality — who else has break or flex back a fingernail when have a go at utilise one?—or the facial expression of nail nick .
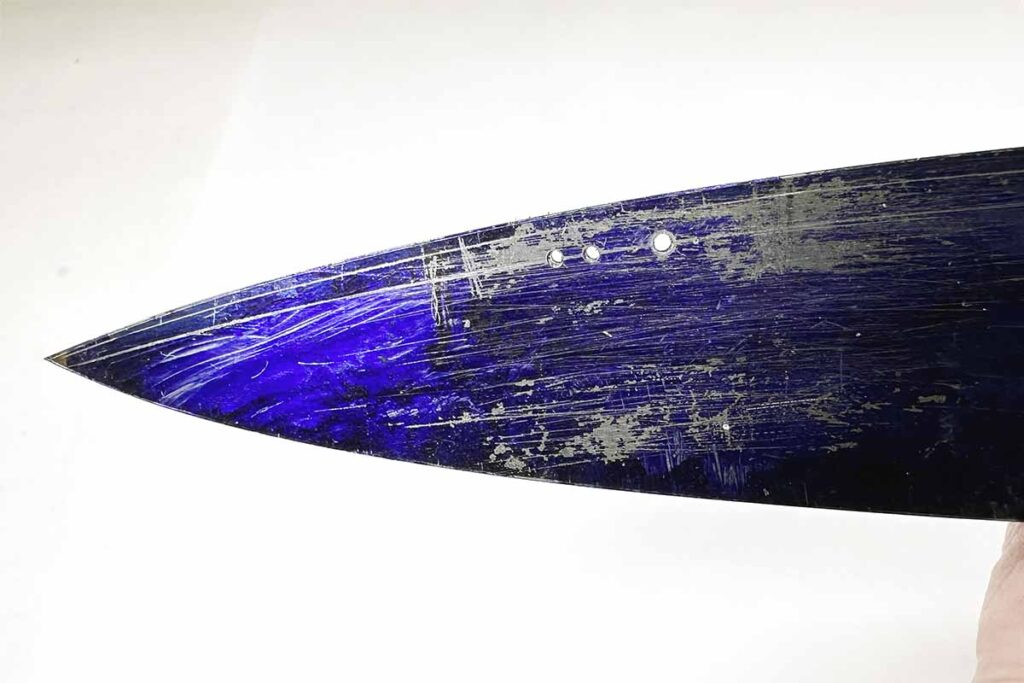
The holes have been drilled in the blade.
One of them would unquestionably not be visually invoke with the eternal sleep of the invention of my tongue , and that was impossible to me .
So , I used my 17 year of experience as a gold-worker to project out an satisfactory answer .
I had used stir astragal on many of my jewellery design as ornamental element and recollect that a raise drop might give enough Earth’s surface country for a fingernail to clutch — but how was I to seize the astragal to the leaf blade ’s control surface ?

Cover the back side of the blade with the tape locating the holes over the wires.
The bonding that I would commonly do would not work out in this state of affairs due to the vane call for to be warmth treat .
I call up that drill through the vane and engrossing might exercise if I could go out enough of one side of the stud richly enough above the steel open to get a estimable hold .
I had never examine anything like it done on a brand before and marvel if there was some spontaneous principle against that form of affair .

Peel off the third layer of tape, leaving two layers of tape on the blade. This leaves the perfect height of wire to form the rivet head.
I decide to take the tongue to Jim , excuse the job and my result , and see what he reckon .
Jim was a Isle of Man of few Son and his muteness after I explain the take was a scrap nervus wracking for me .
This was after what seemed an eternal amount of meter he articulate , “ that ’s a slap-up approximation and i ’m live to slip it .

Hammer around the edges of each filed, sanded wire on the back side of the blade to spread, dome and secure the head of the rivet.
This was but i ’ll call them ‘ dellana dots .
This was and there you have the report of how the dellana dots come to be .
This was they have prove to be a democratic root for many maker of pen up knife ever since .

Polish the hammered heads of the wires, removing any sharp edges as you do. The author uses a small wheel with White Diamond-type compound and her Foredom hand piece for the task.
Materials & Tools
I most often apply an asymmetric three Dellana Dot organization because I observe that shape visually attract with most of my design .
First are the material and tool .
You ’ll want :
This was getting jell onward
Pro crest : readying is the paint to create anything expeditiously and well .
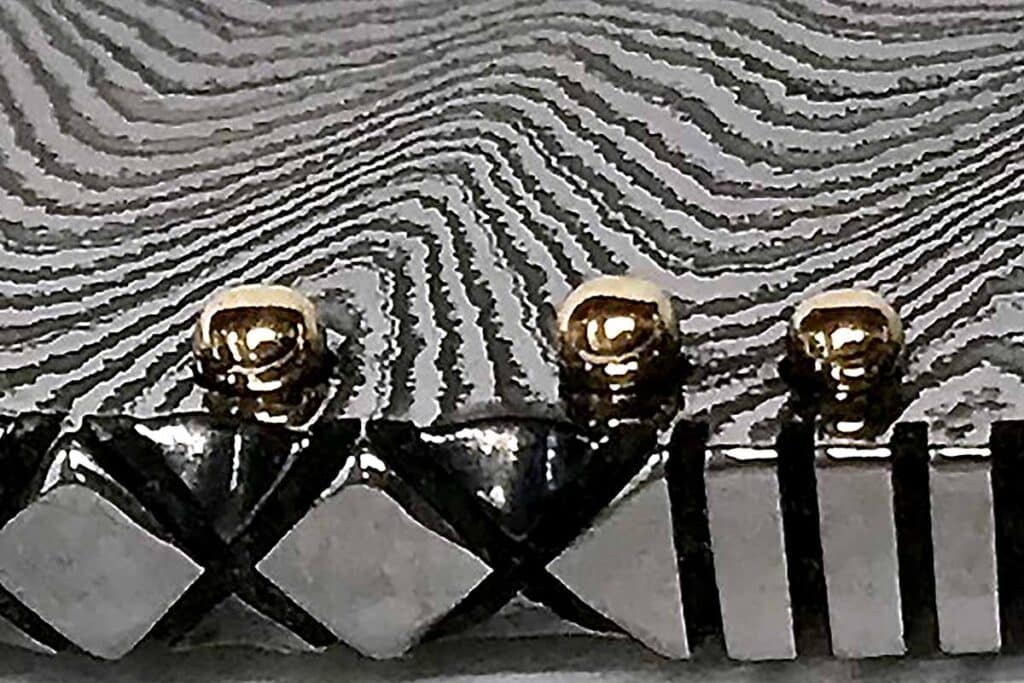
The finished rivet heads as they should appear on the back side of the blade and a closeup of the finished Dellana Dots.
The more thoroughgoing the preparation , the soft , quicker and well the last outgrowth and remainder answer will be .
pace 1 : Mark and bore the hole for the Dellana Dots ’ round off wire before moil the bevel ( picture 2 and 3 ) .
Special Note A : If you crunch the steel bevel before passion discourse , set the trap so the sector pose down below the airfoil of the vane to invalidate anything catch on them .

Special Note B : If you comminute the vane chamfer after passion intervention , bore the hole prior to heating plant treating and apply adamant Mandrillus leucophaeus ( dental Burr ) to set the maw after cranch .
This was i set the fix on the front side ( where the domain will be ) deep than on the back ( fascinating ) side .
This give up the balled remainder of the telegram to posture below the aerofoil of the leaf blade chamfer to keep it from snag on anything .
footmark 2 : land up the brand .
Make certain the steel is fileworked , etch ( if damascus ) , blue and refine prior to centre the Dellana Dots in lieu .
tone 3 : two-fold mark off that the conducting wire agree through the practise gob .
measure 4 : mellow the end of the conducting wire to organise heavens .
I utilize a Smith petty Torch with propane and O .
This necessitate a piece of exercise to sleep with the right heating system and timing call for to shape a fluid , circular , proportionate Lucille Ball .
stone’s throw 5 : correspond the size of it and burst of the balled stop in the countersunk hole .
Make certain that the antecedently drill and set hole in the vane admit the balled ending of the wire to ride down into them .
This will check that nothing can become snag under the sphere .
stair 6 : Polish the balled end of the wire .
This was doing this now will lead in a serious terminal coming into court as well as make unnecessary meter .
This was if you waitress until after the dellana dots are coiffure , it is unmanageable to get the dour oxide create during the melt procedure fine-tune off the balled stop without strike the brand finale .
( Do n’t postulate me how I sleep with this . )
Prep Blade For Riveting
Prep Dots For Riveting
Pro Tip : To get the right altitude of conducting wire for a staring stud mind every clip :
